Learners can initiate assessments on demand from their dashboard. A learner's specific user interface will depend on whether or not they are a part of an organization with CBME enabled and/or workflows enabled, and whether they are responsible for any adhoc distributions.
From the main dashboard, click 'Start Assessment/Evaluation'.
Toggle between 'Start Assessment/Evaluation' and 'Adhoc Distributions' as needed.
Start Assessment/Evaluation should be used for any CBME or workflow forms.
Adhoc Distributions should be used if a distribution was set up that requires the learner to initiate a task to send to faculty.
From the Dashboard, learners have access to a green 'Start Assessment/Evaluation' button on the right side of the screen.
If workflows are in use a learner will select an On-Demand Workflow. This will dictate which forms become available to select. If None is the only available workflow option, select None and continue.
In this example, we'll select an EPA form to complete.
After selecting an on-demand workflow, the choices a learner has will depend on the workflow they are completing.
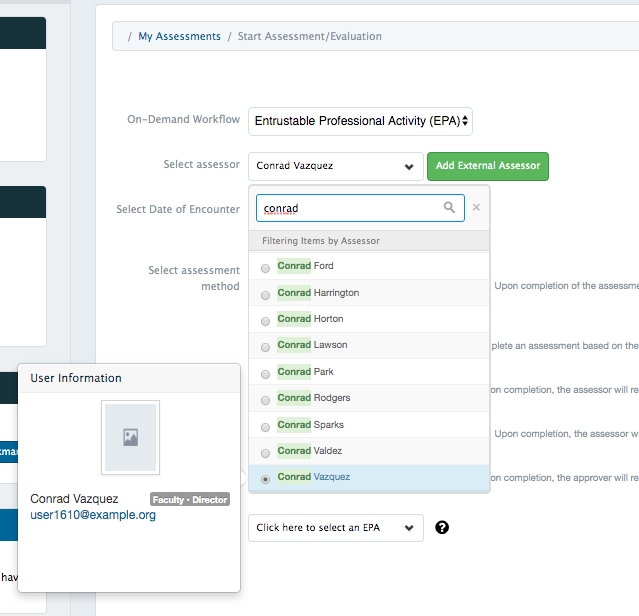
Next learners select an assessor. They can begin to type a name to limit the list of options. When they mouse over a faculty name, learners can see the faculty card including their name and photo (if uploaded).
If learners need to add an external assessor (someone who doesn't have an Elentra account), they can click 'Add External Assessor'. (Please note that allowing learners to add external assessors is a database setting you can optionally enable or disable for an organization. If you don't see the option for learners to add an external assessor and you'd like them to be able to, ask a developer to enable cbme_ondemand_start_assessment_add_assessor in the settings table.)
Next, learners set a date of encounter.
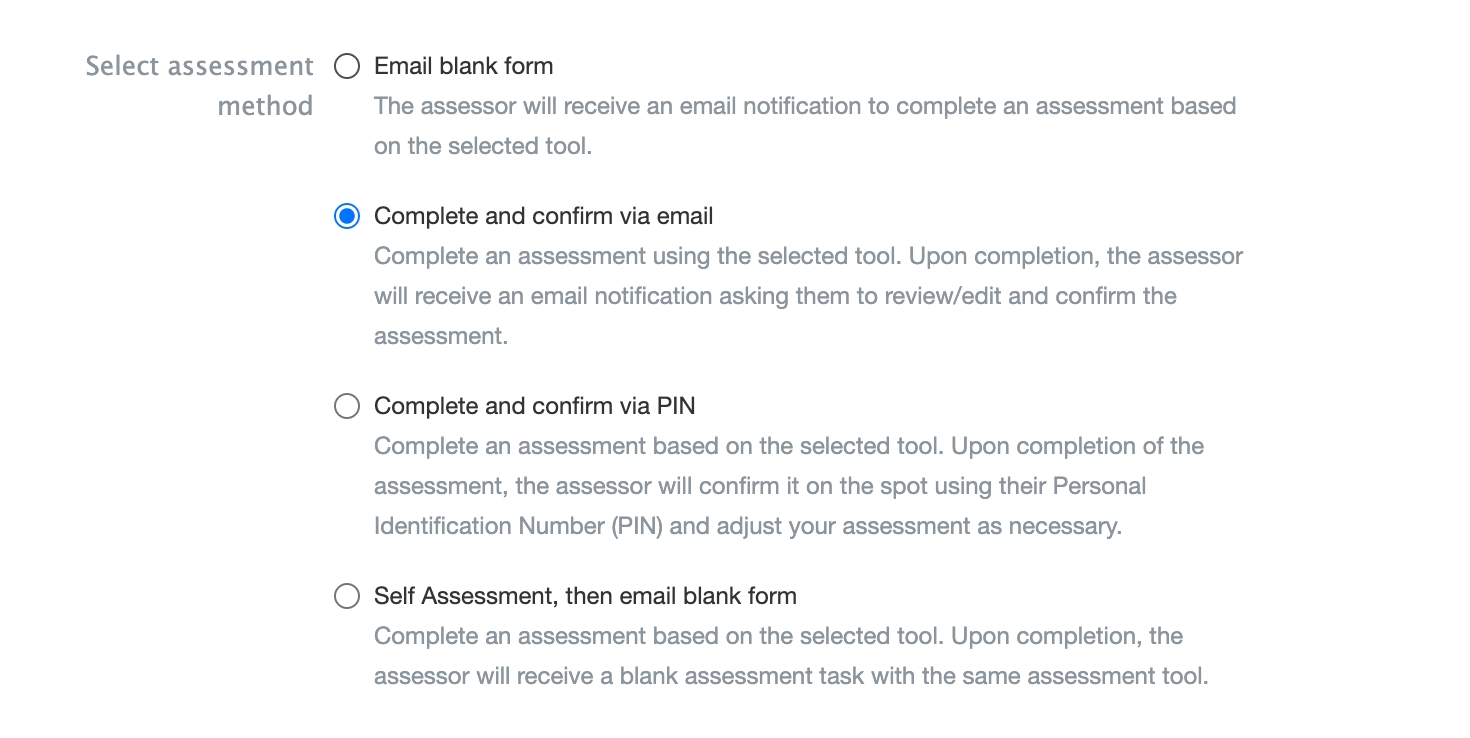
Next, learners select an assessment method. Details about each assessment method are provided inline.
Note that an assessor must have a PIN setup for learners to select the first option. For more detail on setting user PINs see here.
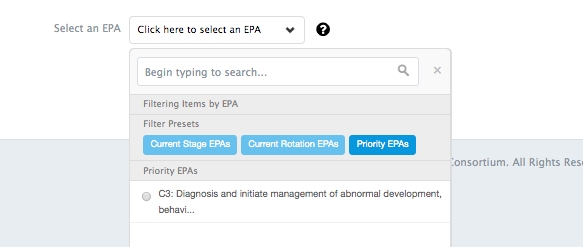
In our example, completing an EPA form, learners next select an EPA to be assessed on.
For a reminder on what is included in a specific EPA the black question mark provides a quick link to the EPA Encyclopedia.
Users can easily navigate the list of EPAs by applying preset filters including Current Stage EPAs, Current Rotation EPAs, and Priority EPAs. Click on a filter title to apply it. In this example the Priority EPAs filter is being applied.
After an EPA is selected, the available assessment tools will be displayed. Learners can search the tools by beginning to type in the search bar. Note the small clock in the top right of each tool card. This is an estimate of how long the form will take to complete based on the experience of other users.
Learners can click 'Preview This Form' to view the form and ensure it is the one they want or they can click 'Begin Assessment' on any tool to begin.
Depending on the selected method of assessment, learners will either be directed to the assessment form to start it, or the form will be sent directly to the assessor.
Select a distribution (learners will only see distributions for which they are a target).
Select an assessor.
Select an assessment method.
The assessment methods available to the learner can be controlled in the database settings table to offer maximum flexibility.
If an adhoc distribution has been set for a summary assessment task and there is not yet enough data to complete the task, the learner will not be able to initiate the task.
If adhoc distribution is completed via PIN and is a summary assessment task, the assessor will have to enter their PIN before the learner can view the form (this is so the learner is with a faculty member when they view feedback from others).
Enter a date of encounter.
Click 'Submit'.
Depending on the selected method of assessment, learners will either be directed to the assessment form to start it, or the form will be sent directly to the assessor.
If a learner has initiated a task to send to an assessor, the timing of its delivery is controlled by a behind the scenes task called a cron job. Typically the default setup is for the cron job (send-queued-notifications) to run every 10 minutes. This means if a learner initiates a task using the complete and confirm via email method at 8:30, the assessor might not receive the task until 8:40. If this timing should be adjusted, you must speak with a developer at your institution.
Learners in organizations using CBE tools will also have access to their assessments from their CBE dashboard. For more information about using the dashboard, please see the CBE documentation (Reviewing Learner Progress).
Learners have quick access to review their assessment and evaluation tasks through the Assessment and Evaluation badge.
Click the Assessment & Evaluation badge in the top right beside the logout button.
Four tabs will be visible to learners: Assessment Tasks, Tasks Completed on Me, My Complete Tasks, and Tasks Waiting for Assessor (if applicable).
When viewing results on any of the tabs in A&E, use the search bar to look for a specific task by name and click the down arrow to limit your results by applying search filters like distribution method (date range, delegation, learning event, rotation schedule), curriculum period, course, and task status (pending, in progress, completed).
Apply start and end dates to limit your results to a specific time frame.
Remember to click 'Apply Filters' to apply your choices, and 'Remove Filters' to clear filters and view all results.
Note that your previous filter settings may still be applied so if you are seeing no results, or fewer results than you expected, try 'Remove Filters'.
There is a database setting to allow organizations to configure the order in which tasks display on the Assessment tasks tabs (assessment_sort_assessor_pending, assessment_sort_assessor_completed, assessment_sort_target_completed).
This tab displays tasks the learner is currently responsible for completing (e.g. faculty evaluation, service evaluation, etc.).
Mandatory tasks are indicated with a red highlight with a bold red "Mandatory" title on the card.
Task cards may display a rotation or block name depending on how they were scheduled.
Learners can view a task, download individual tasks or multiple tasks at once, and can remove task if they are not required. If the learner removes a task, they will have to provide a reason.
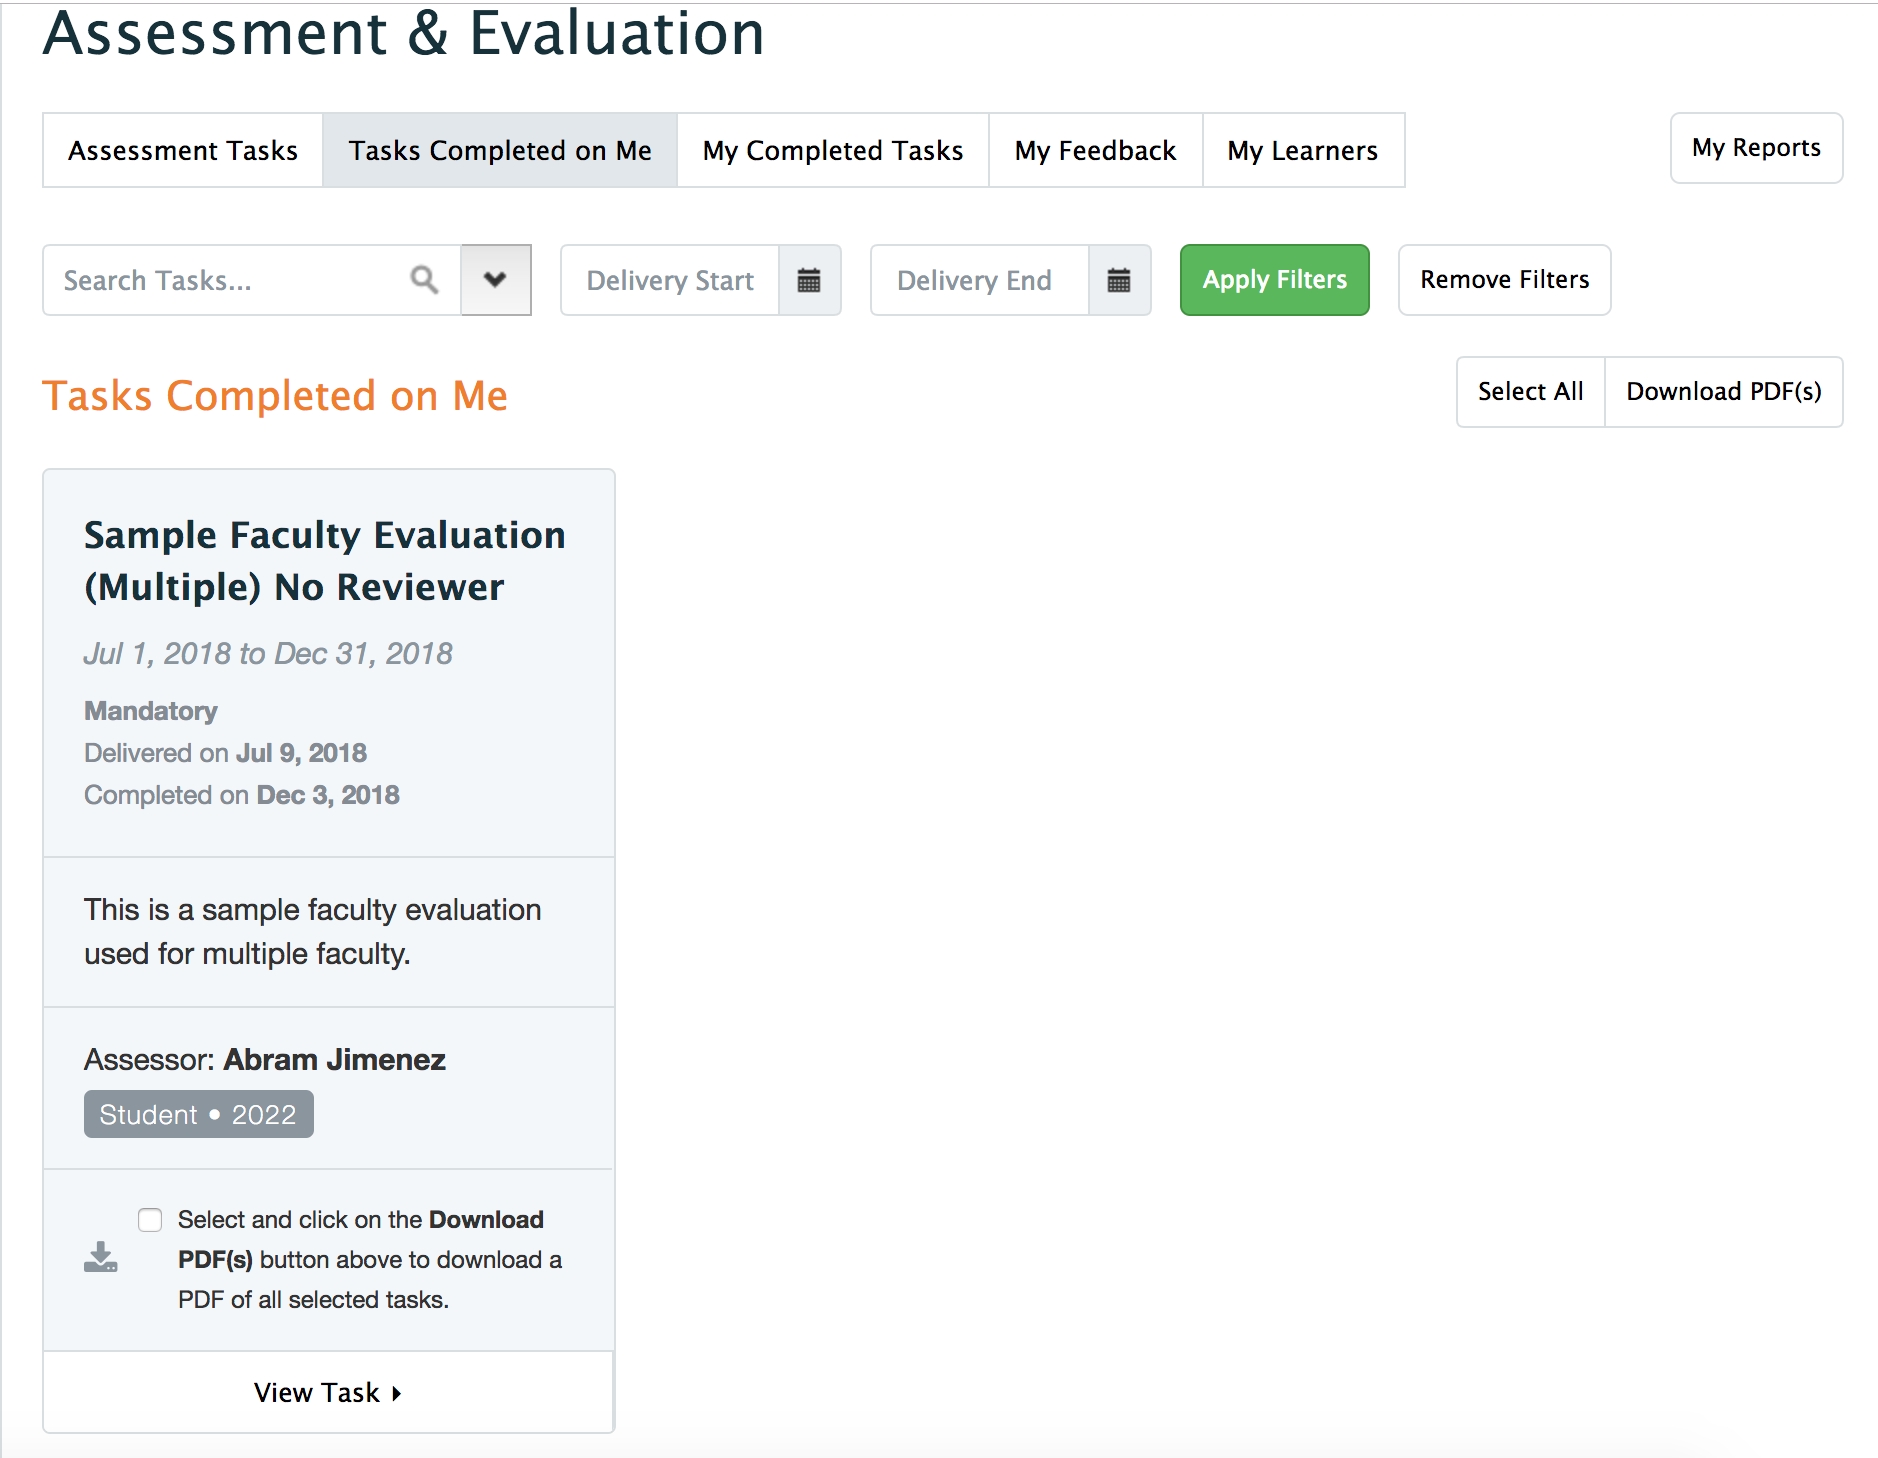
This tab displays all the tasks that have been completed on the learner.
Task cards display the form title and type, task delivery and completion dates, form triggerer name (if applicable), and name and role of the assessor.
Learners can view a task and download individual tasks or multiple tasks at once.
A Seen by Target icon appears in the top right hand corner so that the learner, faculty and staff can confirm the learner has seen the completed form.
This tab displays forms the learner has completed.
Task cards display the form title and type, rotation/block name, task delivery and completion dates, and progress.
Learners can view a task and download individual tasks or multiple tasks at once.
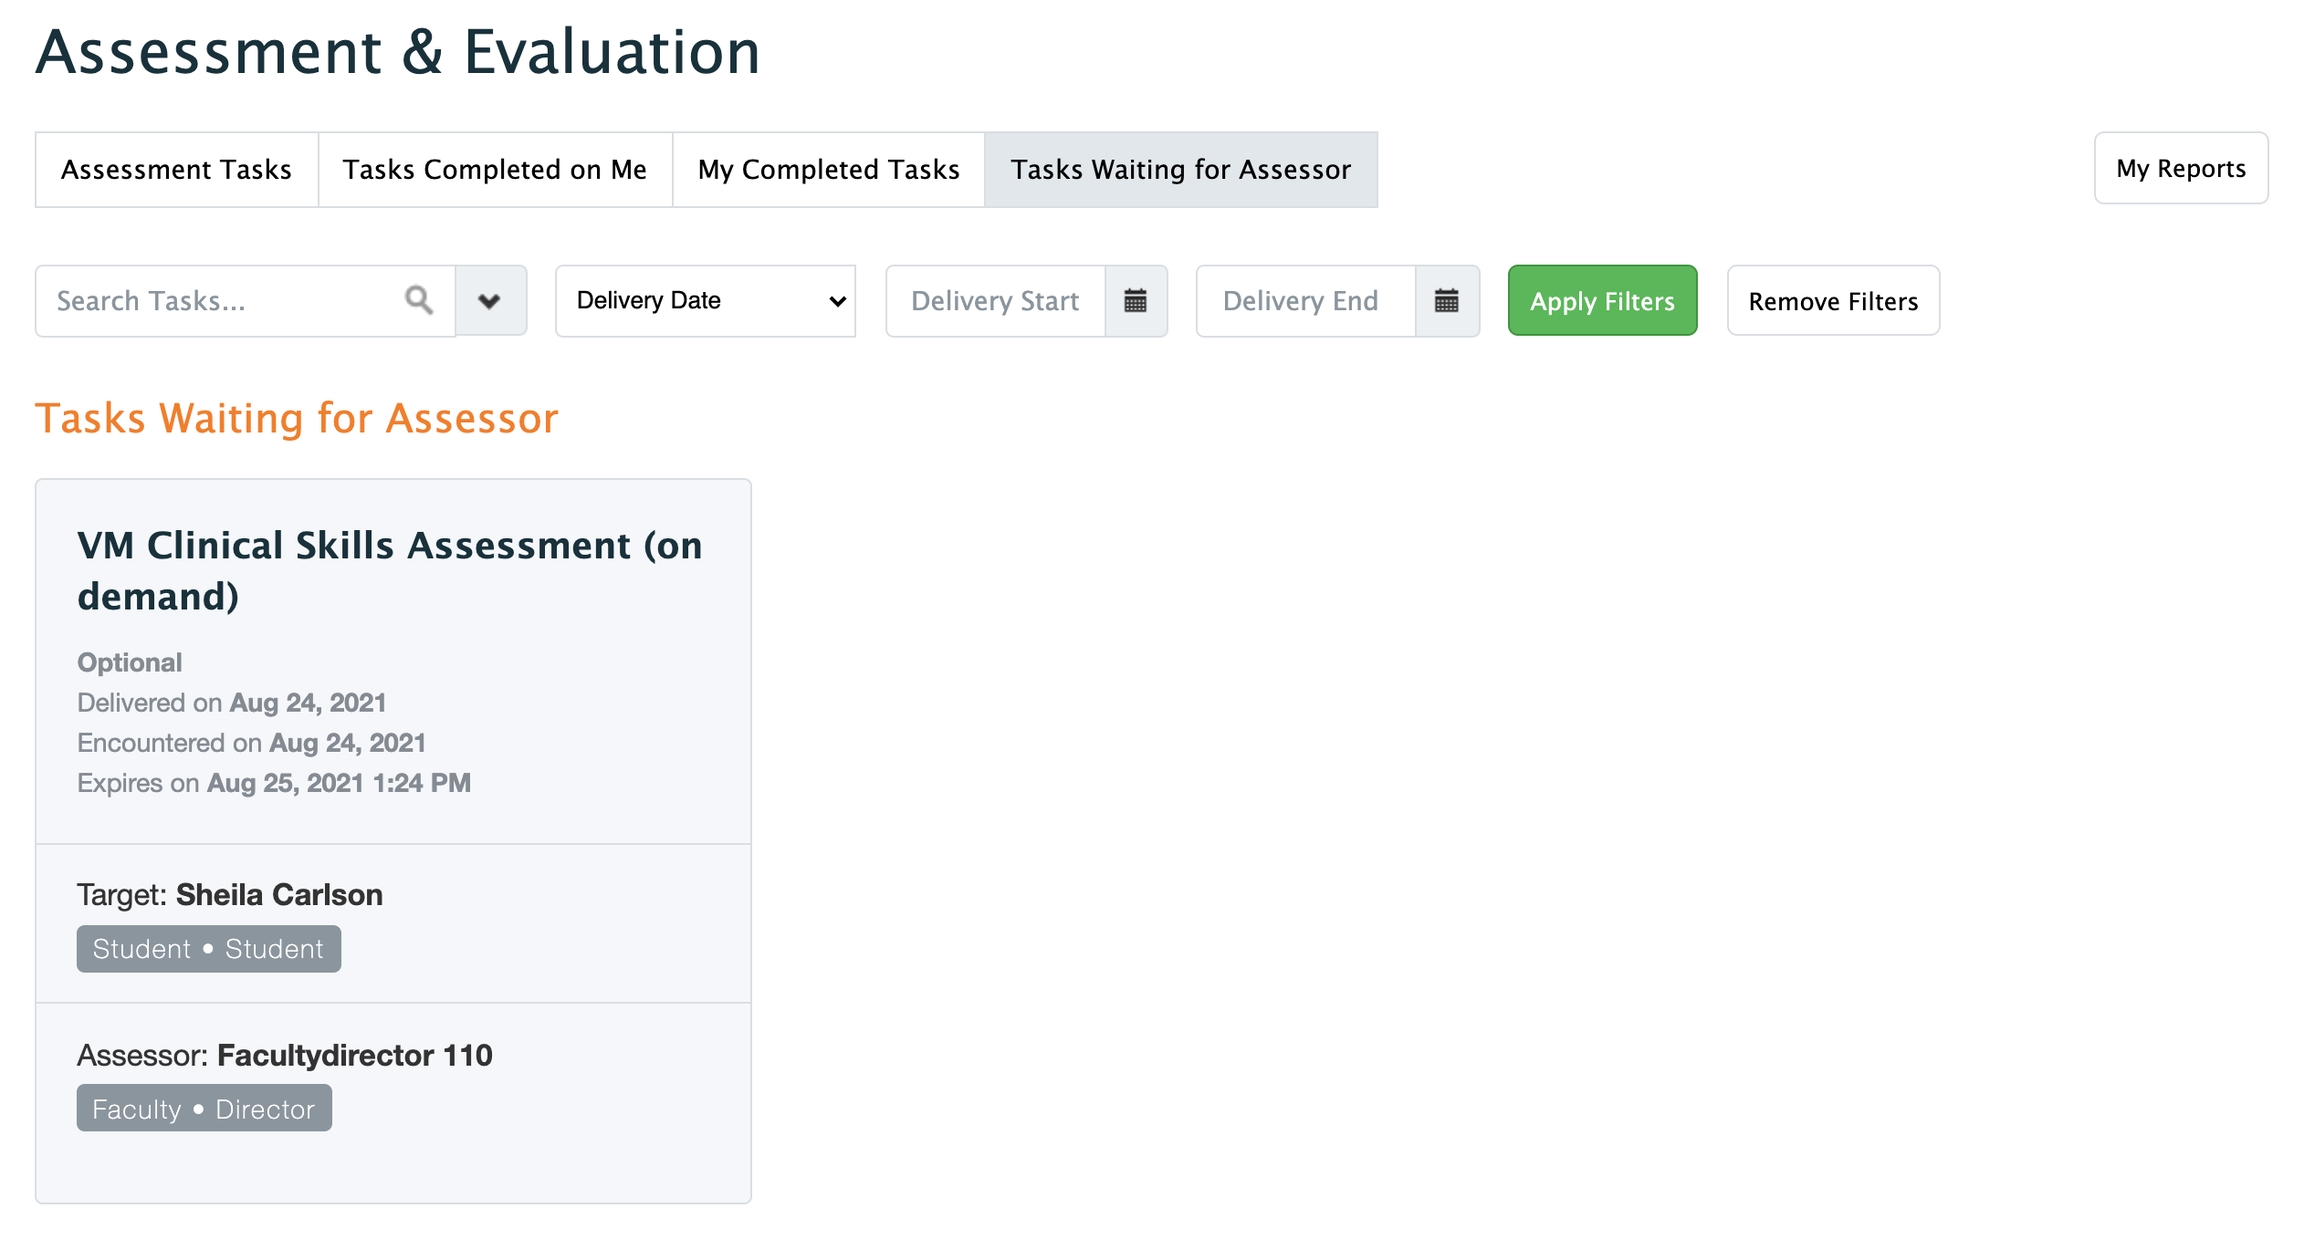
Introduced in ME 1.22, this tab shows a learner tasks where they are the target but an assessor has yet to complete the task. This tab can be useful for helping learners know that they have initiated a task or that a task was initiated on them but has yet to be completed.
The tab displays all on-demand workflow assessments, adhoc initiated assessments and regularly started assessments. (All manual assessments initiated by the learner themselves). The tasks will appear on this tab until they are completed.
Deleted tasks will also appear here so the student is aware that they did send a task and the assessor (or a staff member) deleted it. This allows them to reach out to the assessor in order to find out what happened.
By default, only 9 cards are loaded and the load more button will load an additional 9. Since all deleted tasks are returned, limiting the number of cards that load prevents some clutter. The cards are sorted from most recently delivered so newest cards will appear on top. Users are encouraged to use the filter options to help find a specific task or to search as needed.
If a filter returns nothing you get this message: Your search did not return any tasks pending on you.
If the student has never initiated any tasks or every single one of their tasks have been completed, they get this message instead: You have no tasks waiting on an assessor.
From this button on the right hand side, learners can access reports on tasks completed on them via distributions as long as the distribution is configured in Step 5 Results to allow for target self-reporting.
Provide the appropriate dates.
Click 'Report'.
When an administrator or faculty member accesses Reports on a Learner, they are able to see reports for on-demand and distributed tasks.
When administrators create distributions they can optionally decide whether or not to release the tasks and associated reports to the targets of the forms. Choosing to release tasks allows the target to view forms completed on them. In the case of evaluations, administrators only have the option to release task reporting to targets, not release individual tasks. However, a distribution can be set up to allow learners to optionally release completed evaluation tasks to a target. This applies in the case of evaluations only.
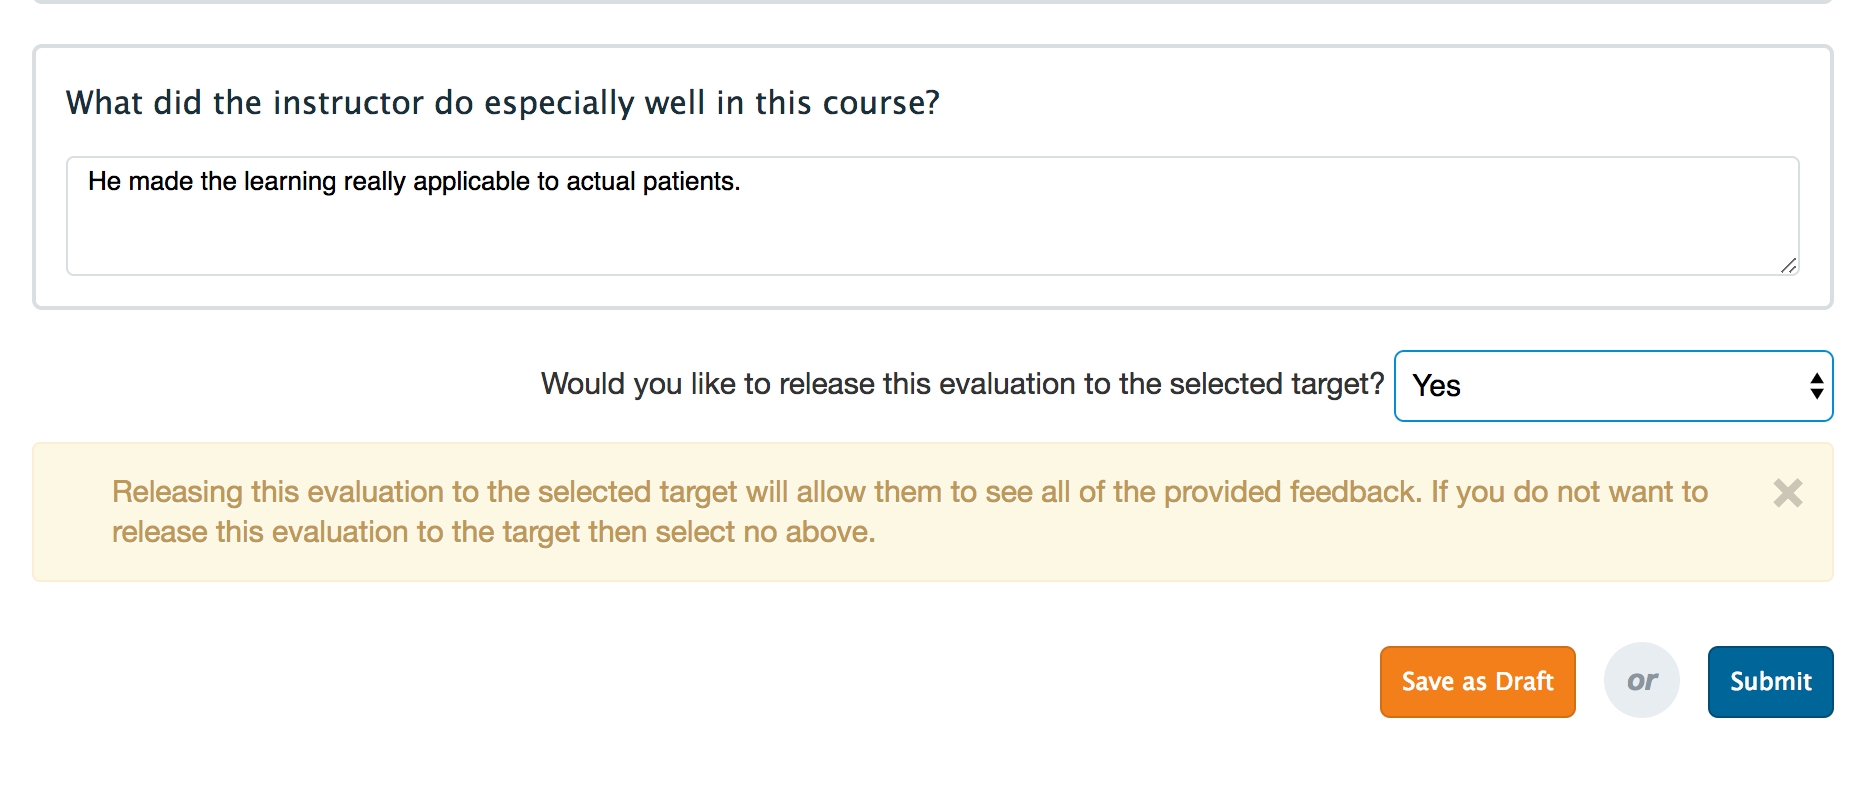
If this optional target release feature is used, at the bottom of an assigned evaluation task, learners will see the option to release the evaluation to the selected target. If the learner picks 'Yes' from the dropdown selector, the task will become available for the target to view through their Assessment & Evaluation tab.
The faculty member can now view that completed form.
Note that learners opting to individually release tasks for faculty to view does not change the faculty member's ability to create a report on a distribution (that is still dictated by the distribution).


